New E-Bike Setup
Thank you for choosing AWDBiKE! With this cutting-edge technology, you'll be able to conquer any terrain with ease. But before you hit the road or trail, it's important to properly set up your eBike to ensure optimal performance and safety. In this blog post, we'll guide you through the step-by-step process of setting up your new eBike.
Step 1: Unboxing and Inspection
The first step is to carefully unbox your new eBike. Inspect the packaging for any signs of damage during shipping. If you notice any shipping damage, Please contact us ASAP. We will not accept Shipping Damage Claims later than 7 days from receipt of products. Once you've confirmed that everything is in good condition, remove all the protective packaging materials.
It is recommended to retain the original packaging for a short period of time and keep it as intact as possible.
For warranty and returns, you are responsible for providing a new box at your expense if you have discarded the original box in which the product was shipped. PLEASE RETAIN YOUR BIKE BOX even if it has been damaged in shipping.
Step 2: Handlebar and Stem Assembly
Before assembling your bike, it is recommended to remove the battery for the following reasons:
- Determine if the battery is drained or damaged during the transportation.
- Reduce the weight of the bike to make it easier to maneuver the bike when assembling. Avoid battery damage during assembly.
Next, you'll need to attach the handlebar and stem to the eBike frame. Start by loosening the stem bolts and sliding the handlebar into the stem. Align the handlebar with the front wheel and tighten the stem bolts securely. Tighten bolts to handlebar stem, but don’t tighten completely as you may want to further adjust the angle later to align more precisely. Test the positioning, and adjust the handlebar to your preferred angle. After determining the best position, completely tighten all the bolts on the stem.
Step 3: Wheel (Front Motor) Installation
Now it's time to install the front wheel. Place the front wheel into the fork dropouts. Once the motor cable was secured properly, please tighten the quick-release skewer or axle nuts. Ensure that the wheel and brake disc are centered and aligned properly. Reposition the wheel and re-tighten if necessary. For transport purposes, tires are packed partially inflated. Please inflated your tires using a pump with a Schrader valve tip to a recommended 22 - 27 psi.
Step 4: Charge Your Battery
Find the keys located on the handlebar and cut tie to remove them. Then, use the battery key to unlock your battery. If you cut them from the handlebars, be careful not to damage any of the wires. When you first get a new electric bike take the time to charge it’s battery completely for up to 12 hours. This long initial charge ensures current is flowing through all the cells and helps to condition the battery right out of the box. The charger will automatically stop charging once the battery pack is fully charged.
Please aware you can recharge the battery after short rides as it does not have a memory effect.
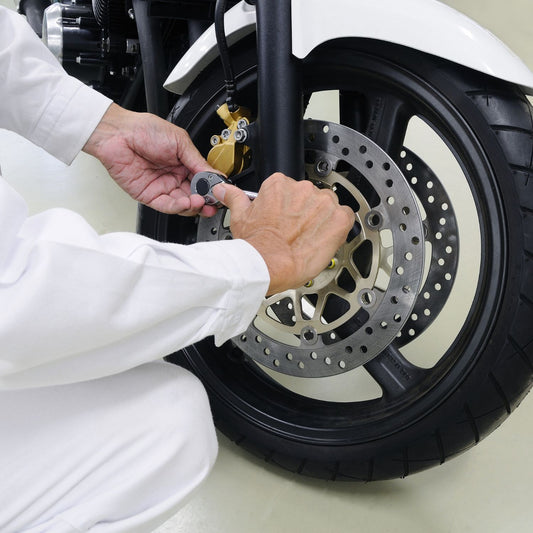
Step 5: Brake and Gear Adjustment
Properly adjusted brakes and gears are crucial for your safety and riding experience. Check the brake pads for wear and adjust them if necessary. Ensure that the brakes engage smoothly and effectively. Additionally, adjust the gears to ensure smooth shifting and optimal performance.
Step 6: Test Ride and Fine-Tuning
Pay attention to the bike's handling, braking, and shifting. If you notice any issues, make the necessary adjustments or consult a professional bike mechanic for assistance. Fine-tune the suspension, seat height, and other components to suit your preferences.
Step 7: Test Ride
After the bike has been properly assembled according to the assembly video, all components are secured correctly, a certified, reputable mechanic has checked the assembly, and you have read this entire manual, turn on the bike and select a pedal assist level following the steps below:
When you buckle on your helmet and go for your first ride, be sure to pick an area away from cars, other cyclists, obstacles or other hazards in order to become familiar with the controls, features and performance of your new Electric Bike.
To get started, we recommend starting in PAS level 0 if you have never ridden an ebike before to get comfortable with the bike.
With the proper safety gear and rider knowledge, you may now operate your bike. On a flat surface, in a low gear (1 or 2) and rear wheel drive only, most riders should be able to begin pedaling the bike with pedal assist level 0 or 1. You may also use the throttle to accelerate and maintain your desired speed.
AWD ebike are typically heavier than regular mountain bikes because they have two motors, and therefore they handle differently.
The dual-motor e-bikes with the double motor system, one in the front and the other in the rear, are suitable for different rides. Starting is much easier and faster than with a regular bike. Be careful these all-wheel drive settings are very powerful.
It's a good idea to get familiar with the weight and power of your e-bike in an easy setting before hitting all-wheel drive. Your bike has on demand all-wheel drive, at any time you can choose between front wheel, rear wheel, or all-wheel drive.
By following these steps, you'll be well on your way to enjoying the exhilarating experience of riding your new all wheel drive eBike. Remember to always wear a helmet, obey traffic laws, and ride responsibly. Happy riding!